
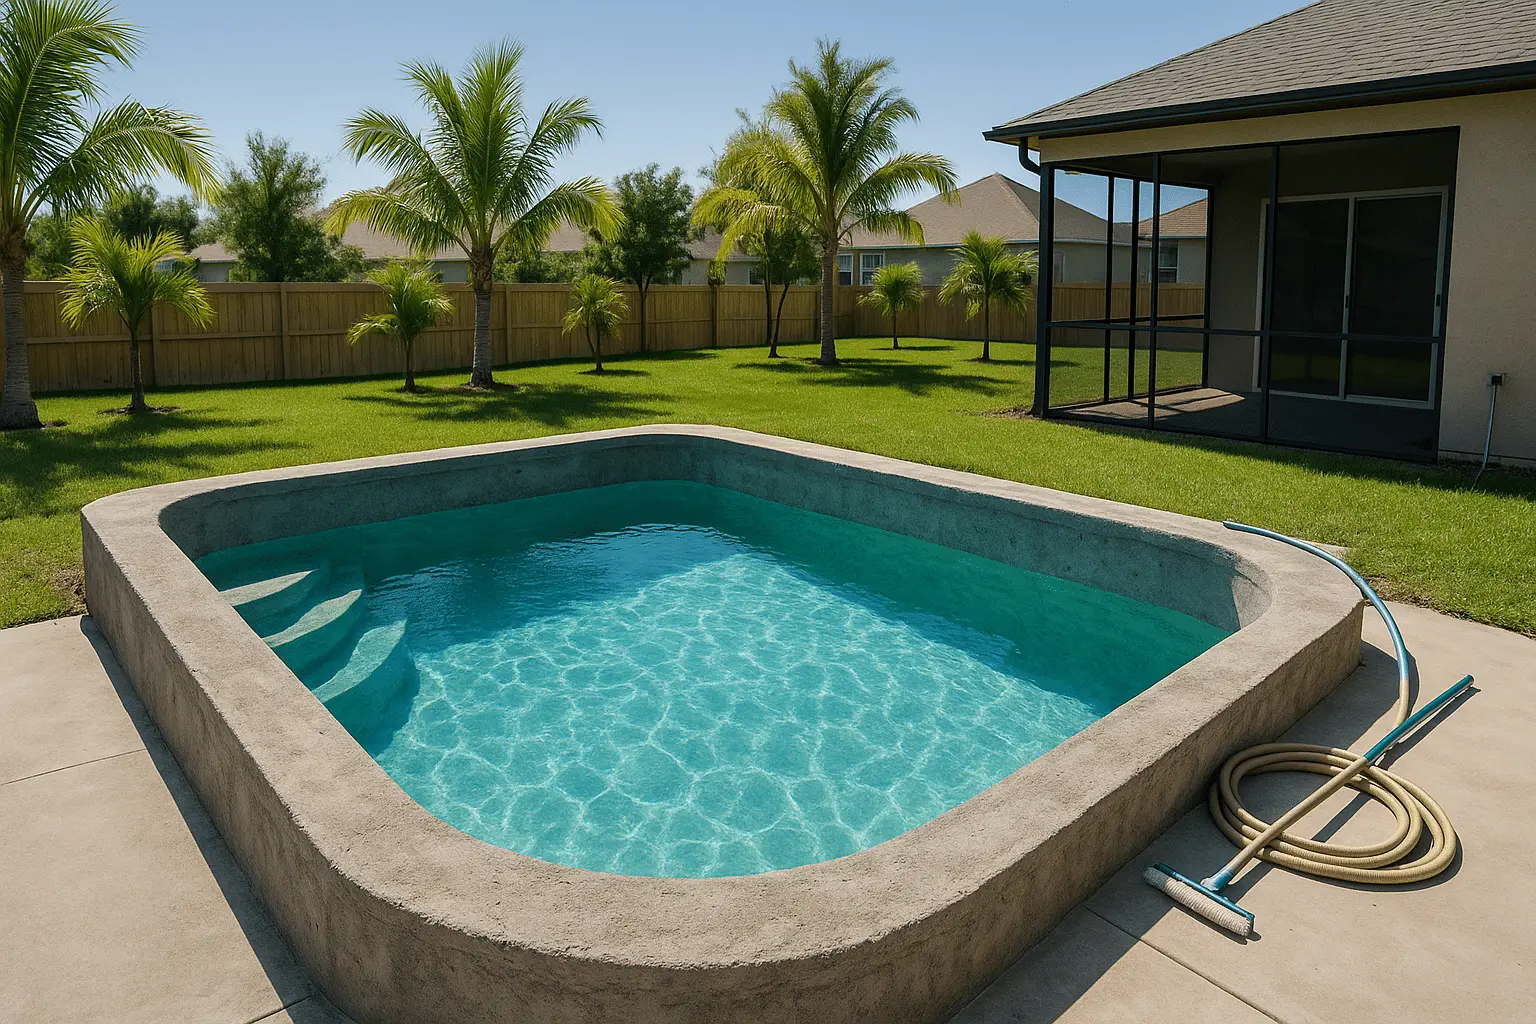
TL;DR: The first 28 to 30 days after your new gunite pool is filled is a critical curing window when plaster hardens and water chemistry must be carefully managed. Skipping steps like continuous filling, dust brushing, and staged chemical balancing can cause staining, etching, or an uneven finish. This guide walks Lake County and Central Florida homeowners through what to expect day by day.
You’ve waited months for excavation, steel, plumbing, and gunite shell work to come together, and now your pool is finally full of water. Before you dive in, there’s one more phase that determines how your pool looks and performs for the next decade or more: the 30-day curing and startup period.
This window matters everywhere, but it matters a little more here in Lake County, Ocala, Belleview, Summerfield, Silver Springs, and Webster, where intense sun, afternoon thunderstorms, and hot, humid air all interact with fresh plaster and curing concrete. Here’s exactly what’s happening under the surface and what you need to do about it.
What Actually Happens When Gunite Cures
Gunite is sprayed concrete, and concrete doesn’t simply “dry” — it hydrates.
Spraying water on concrete is one of the oldest and best ways to cure concrete, and the chemical reaction that binds the sand and gravel together to form hardened concrete can take up to 28 days to complete.
Concrete curing and hardening is an exothermic chemical process that generates heat, and you want concrete to be cured slowly, uniformly, and evenly from top to bottom.
That’s why our crews keep the fresh shell wet in the days right after shooting it.
The American Shotcrete Association recommends a minimum of 7 days of continuous wet curing to help control shrinkage issues, increase strength, and reduce permeability.
Watering aids hydration through a process that decays exponentially, so it’s most critical in the first hours and days after placement
— which is also when Central Florida’s heat works hardest against you.
Once your gunite shell has cured, it gets its interior finish — plaster, pebble, or a quartz aggregate. That finish has its own, separate curing clock, and it’s the one that determines your pool’s daily care for the next month.
Why the First 28 to 30 Days of Plaster Curing Matter Most
Pool plaster will immediately start hydrating when mixed, and 86% of the cement in the plaster will cure within the first 28 days.
The first 28 days of a plastered pool determine whether the finish cures evenly or develops mottling, discoloration, and premature etching.
During this window,
fresh plaster releases calcium hydroxide into the water, which raises pH and alkalinity continuously, and if not managed, creates scaling on the surface, equipment, and tile line.
On the flip side, unbalanced water can pull calcium back out of the finish instead. Either direction — scaling or etching — leaves a permanent mark on a brand-new pool.
Fill Day: Don’t Stop the Hose
Filling a new plaster pool can take between 18 and 36 hours, and once you begin filling, you should not stop, or it will leave a distinct line where you stopped.
If you’re worried about overflow overnight,
just turn the water supply down so the pool continues to fill more slowly
rather than shutting it off completely.
In our service area, this typically means coordinating fill day around your well or municipal water pressure and, in neighborhoods like The Villages or Mount Dora, sometimes hauling in water to keep the fill moving without interruption.
Days 1-3: Continuous Circulation Begins
As soon as the pool is full, the pump goes on and stays on.
Once full, turn on circulation immediately and run the pump continuously for a minimum of 72 hours.
This constant movement helps distribute the calcium hydroxide released from the plaster evenly instead of letting it concentrate and cause blotching in one spot.
This is also when your builder or startup technician takes the first chemistry readings.
Test pH, alkalinity, and calcium hardness within the first hour of circulation
starting, then continue testing daily.
Days 4-10: Brushing Out Plaster Dust
Fresh plaster sheds a fine cement byproduct commonly called “plaster dust.”
Brush the entire pool surface thoroughly at least twice daily to remove all plaster dust — routine brushing is critical to a long-lasting, beautiful pool finish.
Brush from the waterline down and from shallow end to deep end so dust settles toward the main drain instead of getting trapped in corners.
Don’t add wheeled vacuums until the water is chemically balanced and no cloudiness from plaster dust remains, which is typically 7 to 10 days after fill.
Manual brush-style cleaning is fine; automatic wheeled cleaners can scratch the still-soft surface.
This is also the point at which cyanuric acid (chlorine stabilizer) usually gets introduced.
After the 4th day, adjust cyanuric acid levels to 30 to 50 ppm based on the pool’s primary sanitizer, pre-dissolving it and adding it through the skimmer.
Days 10-28: Daily Testing and Gradual Adjustments
Calcium hardness, alkalinity, and pH all need daily attention through this stretch.
After the 4th day, calcium levels should be adjusted slowly over the 28-day period, not to exceed 200 ppm.
Chlorine gets introduced gradually too —
pre-diluted chlorine may be added to achieve 1.5 to 3 ppm
once plaster dust has cleared.
As the pool stabilizes, testing frequency eases off.
Brushing can drop from twice daily to once daily around days 14-28, then to weekly after day 28, while testing moves from twice daily to daily through day 28, then to twice weekly through day 60.
What to Avoid for the Full 28-30 Days
- No heaters.
Do not turn on the pool heater or chiller for 28 days. - No salt.
No salt should be added for 28 days
if you’re installing a salt chlorine generator. - No shocking early on.
Don’t shock the pool for the first 30 days, and don’t swim until the water is balanced. - No standing on steps or ledges the day they’re finished.
Do not walk down steps or ledges on the same day they were put in, as the pressure of standing on one foot could cause an imprint.
Why This Matters More in Central Florida
Our region’s climate cuts both ways during curing. Summer heat and humidity accelerate the chemical hydration reaction, which is good for strength, but it also means calcium hydroxide releases faster and water chemistry can swing quickly if it isn’t checked daily. Afternoon thunderstorms — a near-daily occurrence from June through September in Lake and Marion counties — dilute chemistry fast and wash debris and pollen into an unbalanced pool, so a rainy stretch during your curing window usually means an extra test and adjustment, not a day off.
Sandy native soils around Ocala, Belleview, and Silver Springs also mean well water is common. Well water often carries iron, manganese, or copper that can stain fresh plaster if it isn’t tested and sequestered before fill day, so we always test source water first, exactly as industry guidance recommends.
Long-Term Payoff of Getting Startup Right
The daily effort during this window isn’t busywork.
Done correctly, startup helps a pool surface last 10-15 years; done poorly, it can lead to early wear, surface damage, and ongoing maintenance issues.
After the initial 28 days, day-to-day maintenance settles into a simpler routine, generally centered on keeping the water’s saturation index in a safe, non-corrosive, non-scaling range going forward.
Every pool R&R Swimming Pools builds — whether it’s a custom gunite project in Tavares, Eustis, or The Villages — comes with a walkthrough where we explain your specific startup schedule, hand off water test results from fill day, and make sure you know exactly what to check and when before we consider the job complete.
When Fiberglass Skips This Step
If a 30-day curing schedule sounds like more commitment than you want, it’s worth knowing that fiberglass pools don’t have this concern at all — the shell arrives factory-cured, so there’s no plaster hydration period and no calcium hydroxide release to manage. That’s one reason many homeowners comparing pool types in Okahumpka or Yalaha lean toward fiberglass for a faster path to swimming, while others choose gunite specifically for its design flexibility and want to plan around the curing window from day one.
FAQ
Recommended Reads
- Custom Concrete Pool Building in Tavares, FL | R & R Pools
- Concrete Pool Building Eustis FL | R & R Pools
- Concrete Pool Building The Villages FL | R & R Pools
