
TL;DR: Fiberglass pool installation follows nine sequenced steps, from permitting and excavation to shell setting, plumbing, backfill, decking, and startup, and typically takes 2 to 4 months in Lake County and Central Florida. Knowing what happens at each stage helps homeowners plan around Florida’s permitting rules, sandy soils, and mandatory pool safety barriers.
A fiberglass pool shell arrives at your house already molded, cured, and finished. That single fact is what separates fiberglass installation from a poured concrete build, and it’s why the on-site work is measured in weeks instead of months.
Here’s what actually happens, in order, when R & R Swimming Pools installs a fiberglass pool in Lake County, Ocala, Belleview, Summerfield, Silver Springs, Webster, or anywhere else in our Central Florida service area.
What You’ll Need Before Installation Starts
- A signed design plan and engineering drawings for your specific Latham shell model
- A building permit, plus electrical and sometimes plumbing permits from your county or city
- A current property survey showing setbacks, easements, and utility lines
- Clear equipment access to the backyard (a path wide enough for an excavator and delivery trailer)
- A plan for the required pool safety barrier before final inspection
- Financing or funds in place, since deposits are typically due before permitting begins
The Fiberglass Pool Installation Process: Step by Step
-
Design, Engineering, and Permitting
Before anyone breaks ground, your pool design is finalized and engineered for your lot. In Florida, this stage has real teeth: building departments
review pool plans to confirm compliance with setback requirements, drainage provisions, electrical safety standards, and barrier regulations before issuing permits
. Most Central Florida jurisdictions require pools to sit
at least five feet from the edge of the pool water to any side or rear property line
, though exact numbers vary by county and zoning district, so your survey and site plan matter. In-ground pools
almost always require full permitting, including building, electrical, and plumbing permits, and construction involves excavation, structural installation, utility connections, and permanent decking, all of which require multiple inspections
. Expect this step to take longer than any physical construction step — incomplete paperwork is the single biggest cause of delay, since
incomplete applications, missing required plans, surveys, or contractor documentation can push approval back weeks
. -
Layout and Site Preparation
Once permits are approved, the crew marks your pool’s exact footprint using stakes, string lines, and a laser level.
Professionals use stakes and string to outline where the pool will go
, matching the shell’s dig sheet to your yard. Any trees, irrigation lines, or structures in the footprint are cleared, and equipment access is confirmed. -
Excavation
Heavy equipment digs the hole to the shell’s exact dimensions, with extra width on the sides for backfill material and plumbing runs. In our region’s sandy, well-drained soils, excavation usually moves fast, but
excavation can take a day or two depending on soil conditions and the size of the pool, and proper excavation ensures the pool fits perfectly and that the base is stable
. -
Base Preparation
A compacted base layer goes down next, typically crushed stone or gravel, and is leveled with precision. This step is where long-term stability is won or lost:
the base and the leveling are where quality is won or lost, and a crushed-stone base and a shell set true keep the pool stable
. Skimping here is one of the most common mistakes in fiberglass installation and the root cause of later shell movement. -
Setting the Shell
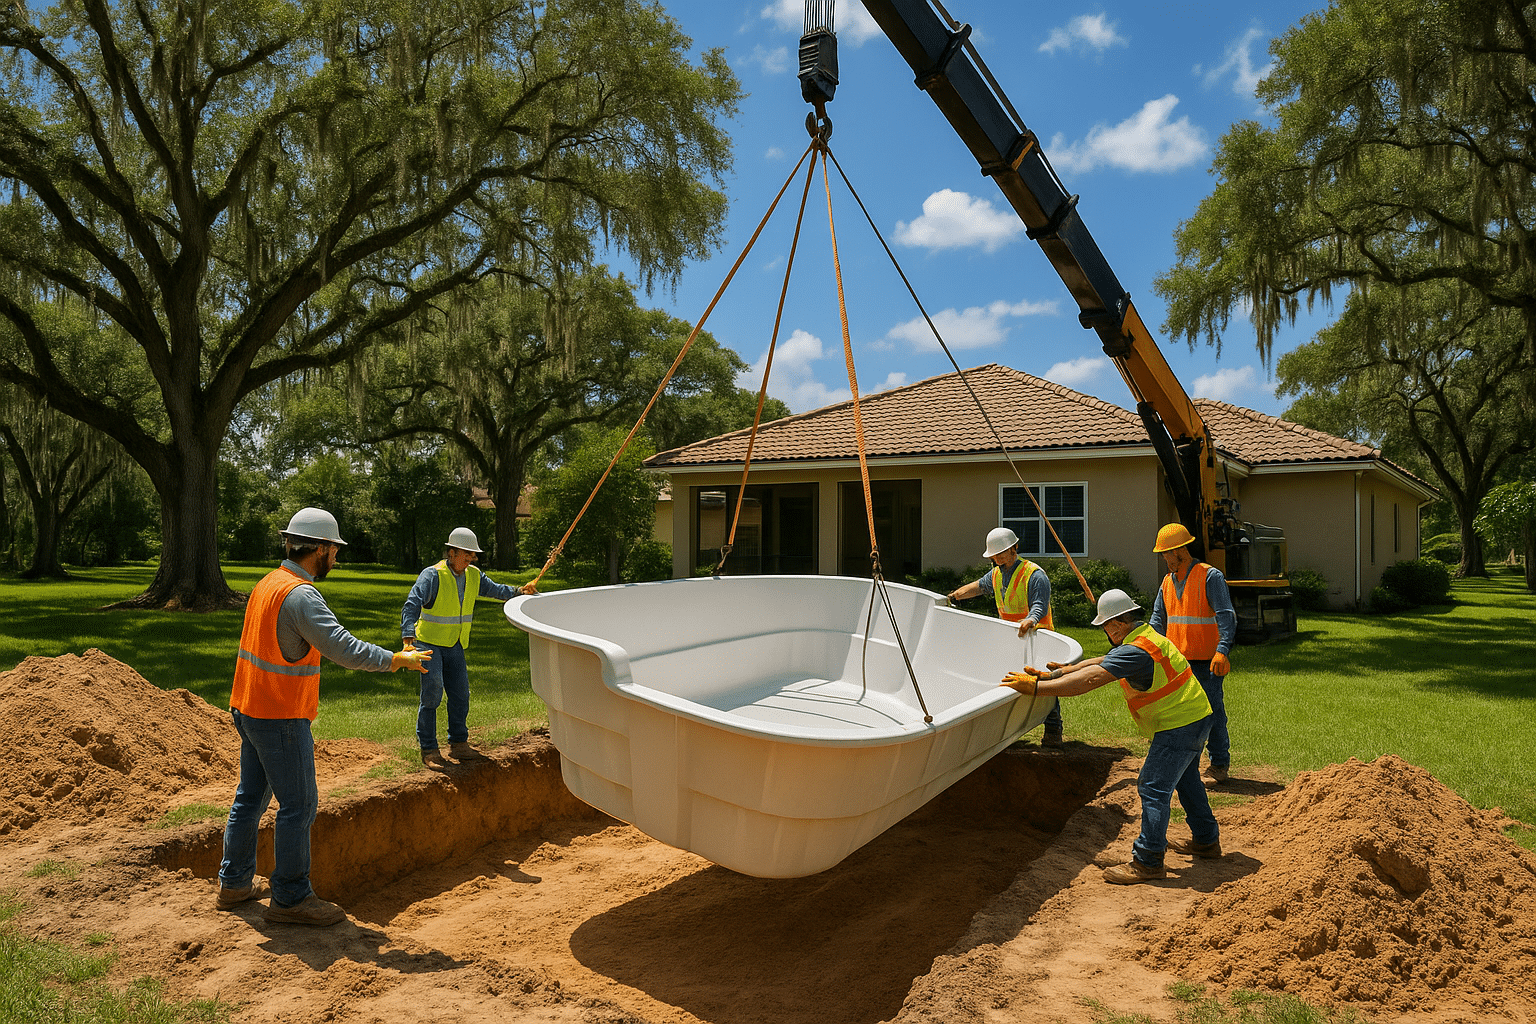
Your Latham fiberglass shell is delivered on a flatbed and lifted into the hole by crane.
A crane is usually required to lift and place the pool into the excavated hole, and precision is critical here, as the pool must be positioned exactly according to the layout plan
. The crew then checks for level in every direction before moving forward — adjustments here are far easier than after backfill begins. -
Plumbing and Electrical Rough-In
With the shell set, plumbing lines for skimmers, returns, and main drains are connected and run to the equipment pad, along with electrical conduit for pumps, lighting, and bonding.
The next step is installing the plumbing and filtration system, connecting pipes to the pool’s skimmers, drains, and jets for proper water circulation, with the plumbing pressure-tested to confirm there are no leaks
. In Florida, this work must meet NEC Article 680 bonding and grounding standards for pool electrical safety. -
Backfill and Water Fill (Simultaneous)
This is the step that protects your shell. Backfill material is added around the pool at the same time water fills the shell, keeping pressure balanced on both sides.
Backfilling continues as the pool fills with water, maintaining equal pressure on both sides of the shell, which prevents warping or shifting during the process
. Rushing or skipping this synchronization is a classic installation mistake that can distort a shell permanently. -
Decking, Coping, and Pool Barrier Installation
Once the shell is backfilled and stable, the deck area is prepped, formed, and poured (concrete, pavers, or travertine), and coping is set around the pool’s edge. This is also when your required safety barrier goes in. Florida law requires every new residential pool to have at least one approved safety feature before it can pass final inspection —
a barrier enclosing the pool that is at least 4 feet high with no climbable gaps, an approved safety pool cover, exit alarms on doors and windows, self-closing self-latching door hardware, or a certified in-pool alarm
. Skipping or under-speccing this step is a guaranteed inspection failure. -
Final Inspection, Startup, and Walkthrough
With decking cured and the barrier in place, the local building department performs final inspections covering structural, electrical, and barrier compliance. Once approved, the equipment pad is activated, water chemistry is balanced, and your builder walks you through operating the pump, filter, heater, and any automation. From here, the pool is yours to enjoy.
How Long Does It Actually Take in Central Florida?
Because the shell shows up pre-built, fiberglass installation compresses a process that would otherwise take months into a matter of weeks on-site. Permitting timelines, weather, and inspection scheduling are usually the biggest variables, not the physical construction. At R & R Swimming Pools, fiberglass projects across Lake County and surrounding areas typically run 2 to 4 months from signed design to final walkthrough, factoring in permitting and inspections alongside the build itself.
Common Mistakes to Avoid
- Underestimating permitting time. Submitting an incomplete site plan or survey is the most common reason projects stall before they even start.
- Ignoring setback and easement rules. A pool positioned too close to a property line or over a utility easement can force a costly redesign mid-permit.
- Cutting corners on the base. An uncompacted or uneven gravel base is the leading cause of shell settling and cracking years down the road.
- Filling or backfilling out of sync. Water and backfill need to go in together; doing one without the other risks shell distortion.
- Treating the safety barrier as an afterthought. Plan your fence, cover, or alarm system during design, not after the deck is poured, since it’s required to pass final inspection.
- Choosing a shell model without checking site access. Larger shells need a clear crane path; narrow side yards or mature landscaping can limit which models fit your lot.
Why Fiberglass Makes Sense for Lake County and Central Florida Yards
Our region’s sandy soil, high water table in low-lying areas, and long swim season all favor fiberglass’s fast installation and one-piece, gel-coated shell. As an authorized Latham dealer, R & R backs every shell with a limited lifetime structural warranty, and the entire process — design, engineering, permitting, excavation, plumbing, electrical, and finishing — is handled in-house from start to final walkthrough.
If you’re comparing options, our fiberglass pool installation page covers shell models and financing through Lyon Financial and Viking Capital. We also serve specific communities directly, including The Villages, Clermont, and Leesburg, along with Mount Dora, Eustis, Tavares, Fruitland Park, Lady Lake, Minneola, Wildwood, Groveland, Montverde, Sorrento, Yalaha, Bassville Park, Ocala, Belleview, Summerfield, Silver Springs, Webster, and 30+ surrounding communities.
Recommended Reads
- Fiberglass Pool Installation Lady Lake FL | R & R Pools
- Fiberglass Pool Installation Leesburg FL | R & R Pools
- Fiberglass Pool Installation Clermont FL | R & R Pools
Sources
- poolbrokersusa.com
- copanopools.com
- splashfiberglasspoolcompany.com
- suncoastpermits.com
- myokaloosa.com
- orlandoshortterm.com
