
TL;DR:
- Effective pool landscaping begins with thorough site assessment and cohesive planning to prevent costly mistakes. Selecting plants tolerant to chlorine, salt, and heat, along with proper grading, drainage, and phased installation, ensures a durable, visually appealing backyard. Integrating hardscaping, lighting, and plant layers as a unified design elevates outdoor space functionality and beauty.
Getting pool landscaping right is harder than most homeowners expect. You pick a few plants, lay some pavers, and suddenly realize the drainage is wrong, the wrong shrubs are dropping leaves into the water every week, and the whole backyard looks like three separate design decisions glued together. Pool landscaping step by step planning solves exactly that. When you work through a clear sequence from site assessment to final planting, you avoid the expensive fixes and end up with a backyard that actually feels like one cohesive outdoor space, not a pool that happened to land in your yard.
Table of Contents
- Key takeaways
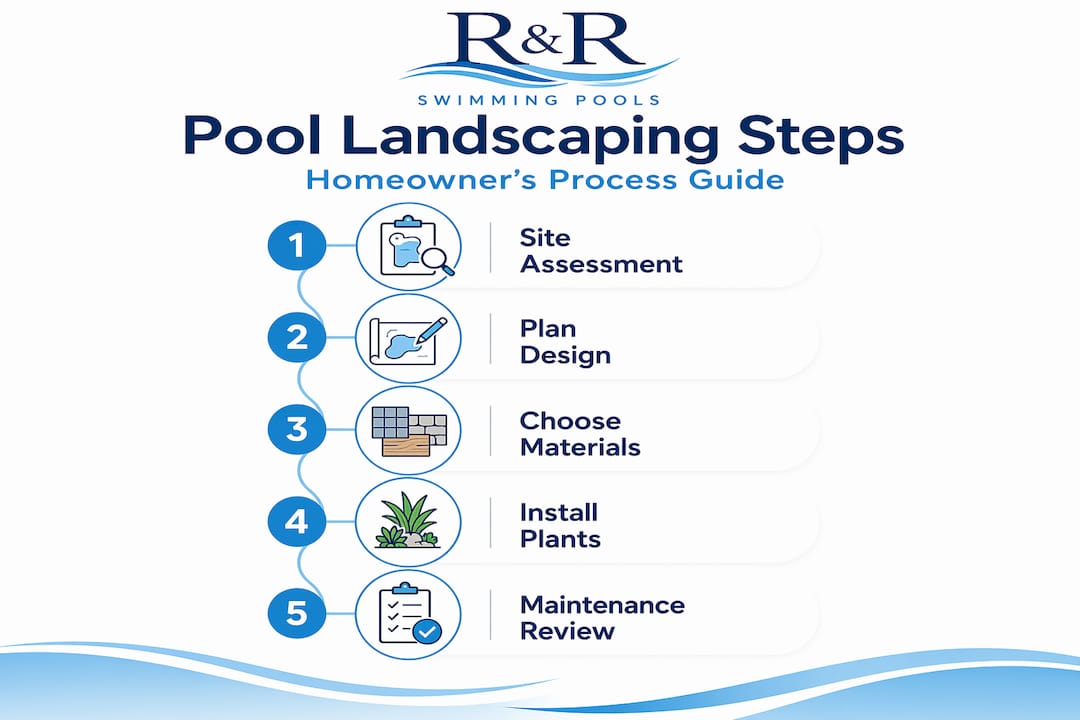
- Pool landscaping step by step: planning before you dig
- The installation process, done right
- Maintenance and troubleshooting after installation
- Design integration: the backyard as one system
- What I have learned after years of watching pool landscaping go wrong
- Ready to build the pool your backyard deserves?
- FAQ
Key takeaways
| Point | Details |
|---|---|
| Start with site assessment | Check soil, drainage slope, and sun exposure before buying a single plant or paver. |
| Plan all zones at once | Define your splash zone, garden frame, and canopy areas before installation begins. |
| Slope hardscaping correctly | All surfaces must drop at least 1 percent grade away from the pool to protect water quality. |
| Choose plants for the microclimate | Poolside plants face heat, salt, and chlorine stress that standard yard plants cannot handle. |
| Review drainage early in the season | A post-installation drainage check in early summer lets you fine-tune before peak use. |
Pool landscaping step by step: planning before you dig
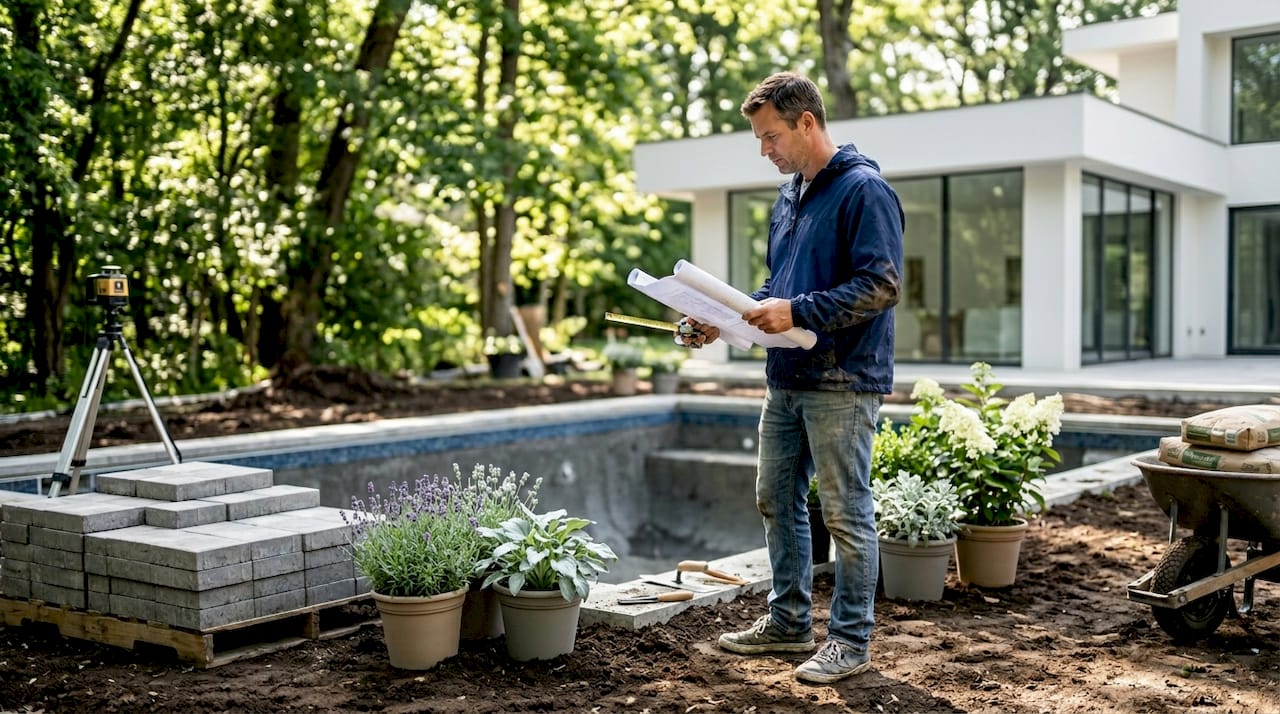
Most landscaping mistakes happen before a single shovel hits the ground. Good planning is the difference between a backyard that holds together and one that costs you money every summer fixing problems that were predictable from day one.
Site assessment: what to check first
Walk your yard and answer these questions before spending anything. Where does water naturally flow after heavy rain? Does the ground slope toward the pool or away from it? What is the sun exposure around each section of the pool? These answers shape every decision that follows.
Soil condition matters more than most homeowners realize. Heavy construction equipment compacts soil significantly during pool installation, and compacted soil will kill plants even if you do everything else right. Plan to aerate and amend with compost before any planting. This is not optional, especially if your pool was recently installed.
Budget and materials overview
Here is a realistic baseline for common materials:
| Material | Estimated cost per square foot |
|---|---|
| Concrete paver decking | $15 to $30 installed |
| Composite decking | $25 to $45 installed |
| Gravel border (per linear foot) | $4 to $8 |
| Landscape fabric (per sq ft) | $0.15 to $0.30 |
Budget planning prevents scope creep. Decide early whether you are tackling everything at once or phasing the project over two seasons. Phased implementation often produces better results because you can observe how the yard behaves through one full pool season before finalizing the planting plan.
Selecting your style and plants
Match your pool design and home architecture to your landscaping style before choosing plants. A geometric pool with clean lines calls for structured plantings and formal hardscaping. A freeform pool looks better with layered, naturalistic plantings and curved borders.
For plant selection, the poolside microclimate is demanding. Plants within 3 to 5 feet of the pool edge face chronic chlorine and salt exposure on top of reflected heat from the deck. You need low-litter, chlorine-tolerant plants like ornamental grasses, agapanthus, and bougainvillea near the water. Save plants with large leaves or heavy fruit drop for the perimeter zones farther back.
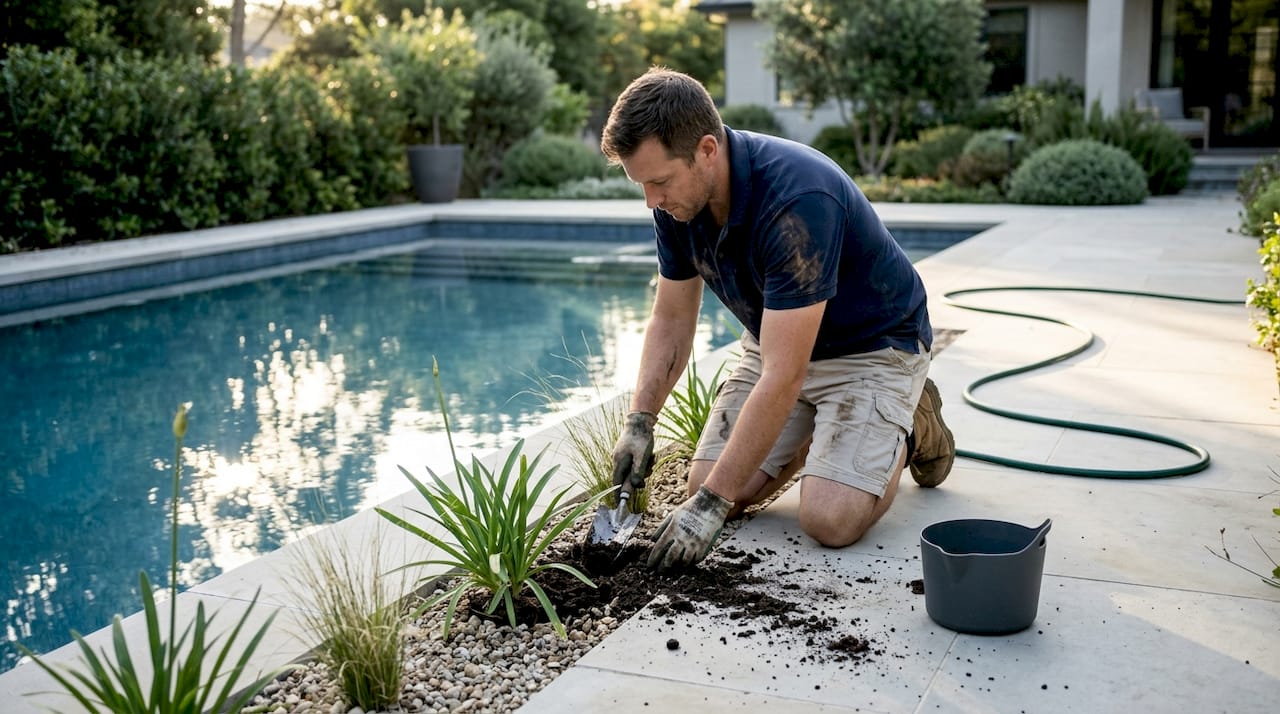
Also plan your irrigation before you plant. Grouping plants by water needs and running drip irrigation to each zone reduces long-term maintenance significantly.
Pro Tip: Break soil compaction after pool construction by aerating at least 6 inches deep and working in two inches of compost before laying landscape fabric or planting. Skipping this step is the single most common reason pool landscaping fails within the first two years.
The installation process, done right
This is where the actual sequence matters. Rushing any of these steps creates problems that compound over time.
- Clear and grade the site. Remove construction debris, level uneven ground, and confirm your slope. All hardscaping must slope away from the pool at a minimum 1 percent grade, which equals roughly 1/8 inch of drop per foot. This prevents runoff from contaminating the pool water.
- Install hardscaping first. Coping, decking, and pathways go in before any planting. This protects your plants from equipment damage and lets you finalize the footprint before committing to irrigation lines. For material choices, check out pool decking options to compare concrete, travertine, and pavers for your specific climate.
- Lay landscape fabric and gravel borders. Place landscape fabric directly on amended soil before adding any gravel layer. Fabric under gravel reduces soil erosion by 40 percent compared to gravel placed directly on soil. Use 3 to 5 inch stones and secure the fabric edges with metal edging strips to keep borders tidy.
- Avoid mulch directly at the pool edge. Keeping a 6 to 12 inch gravel border around the pool perimeter prevents moisture buildup, reduces debris entering the water, and holds up far better under splash conditions than organic mulch.
- Install irrigation and lighting conduit. Run drip irrigation lines and any electrical conduit for lighting before planting. Retrofitting these systems after plants are established damages root zones and costs significantly more.
- Plant in zones, starting closest to the pool. Place splash-zone plants first, then mid-range shrubs, then canopy or privacy plantings at the perimeter. Space plants generously. Overcrowded plantings around pools become a maintenance burden fast.
- Finish with lighting. Low-voltage LED fixtures along pathways and underwater lights are both practical and transformative. Adding lighting to a pool area changes how you use the backyard entirely, extending your outdoor hours well into the evening.
Pro Tip: When installing pathway lighting, run the wiring in conduit rather than burying it directly in soil. If you ever need to upgrade fixtures or repair a line, you will save hours of digging and replanting.
Here is a quick comparison to help you decide between two common border materials:
| Feature | Gravel border | Organic mulch border |
|---|---|---|
| Drainage performance | Excellent | Poor near water |
| Debris entering pool | Low | High |
| Longevity | 5 to 10 years | 1 to 2 years |
| Soil acidity impact | Neutral | Increases acidity |
| Cost over 5 years | Lower | Higher with replacement |
Maintenance and troubleshooting after installation
The best pool landscaping becomes a burden if you have not planned for how it needs to be cared for. These are the most common issues and how to handle them.
- Chlorine and salt splash damage. Rinse the soil and foliage in the splash zone periodically with fresh water. Salt and chlorine accumulate in the top layer of soil over time, so flushing the zone every few weeks during heavy pool use prevents toxic buildup that stunts or kills plants.
- Weed control and edge maintenance. Keep a clean line between the hardscape and planting beds. Gravel borders make this easier, but you still need to pull weeds monthly and redefine edges with an edging tool each season.
- Soil compaction after construction. If you notice plants declining in the first year, compaction is often the cause. Aerate around established plants carefully to avoid root damage, and top-dress with a thin layer of compost to restore soil structure.
- Leaf drop and debris management. If you selected plants with heavy seasonal leaf drop, position them far from the pool edge. For plants already in place, a simple mesh skimmer and weekly rake prevents debris from accumulating and affecting water chemistry.
- Drainage problems. If water is pooling near the pool after rain, you may need to regrade a section or install a French drain. Address this before it causes structural issues under the decking.
Pro Tip: Schedule a seasonal landscaping review in late spring each year. Check drainage performance, replace any winter-damaged plants, and adjust irrigation timers before summer use ramps up. Catching problems in May is far easier than dealing with them in August.
Design integration: the backyard as one system
The most common design failure in pool landscaping is treating the pool, the deck, and the garden as three separate projects. They are not. Designing pool, deck, and landscaping as a whole creates better functional and visual outcomes, and it shows.
Here is how to think about it:
- Define functional zones before you plant anything. Lounging, dining, sunbathing, and entry paths each need their own space. Landscaping should frame these zones, not compete with them.
- Use layered plantings for privacy and depth. A single row of tall shrubs creates what designers call a “green wall.” It looks cheap and blocks light. Instead, combine ground covers, mid-height shrubs, and one or two taller accent trees to create depth at the perimeter.
- Match hardscaping materials to the pool style. A lagoon-style pool with natural stone coping looks incongruous next to sharp concrete pavers. Visual consistency between pool materials and deck materials ties the whole space together.
- Plan lighting for safety and ambiance. Path lights, underwater LEDs, and uplighting on accent trees serve double duty. They make the space safer at night and add visual drama that transforms a basic backyard into something worth showing off.
- Leave access paths for equipment. Pool equipment, maintenance access, and any future renovation work all need clearance. Plan a discreet path of at least 3 feet along at least one side of the pool that stays clear of dense plantings.
For real-world examples of how these design principles come together, the pool landscaping examples gallery at Randrswimmingpools shows finished Florida projects with a range of styles and budgets.
What I have learned after years of watching pool landscaping go wrong
From my experience, the single biggest shift homeowners need to make is conceptual. Stop thinking of the pool as the project and start thinking of the entire backyard as the project. The pool is just the centerpiece.
I have seen homeowners spend $60,000 on a beautiful custom pool and then spend $500 on landscaping afterthought plants that die within two seasons because nobody accounted for soil compaction or the chlorine splash zone. The pool looks embarrassing within three years, and the homeowner blames the contractor when the real issue was the landscaping plan never existed.
The other thing I keep seeing is impatience. You do not need to plant everything in the first month. In fact, spending one full pool season observing your yard before finalizing the perimeter plantings gives you real data. You learn where the foot traffic naturally goes, which corners get afternoon shade, and where drainage is slower than expected. That information is worth more than any design software.
Phased implementation also protects your budget. Get the hardscaping and splash-zone plants right first. Then add the decorative layers once you know the core is performing well. Patients who treat it this way end up with landscapes that actually look intentional. The ones who rush tend to redo things twice.
— Randrswimmingpools
Ready to build the pool your backyard deserves?
At R and R Swimming Pools, we have been designing and installing custom inground pools in Central Florida since 1985, and we know that the landscaping plan is just as important as the pool itself. Our team helps homeowners work through every stage, from initial site assessment to plant selection and hardscaping decisions, so nothing gets bolted on as an afterthought. If you are starting from scratch or upgrading an existing pool, the inground pool installation guide walks through the full process with expert guidance built in. For a deeper look at design options and how pool type affects your landscaping scope, the expert guide to inground pools is a strong next step. When you are ready to talk specifics, our team is here to help you build something that lasts.
FAQ
What is the first step in pool landscaping?
Start with a site assessment. Check soil condition, natural drainage direction, and the slope around the pool before buying materials or plants.
What plants work best near a pool?
Choose low-litter, chlorine-tolerant options like ornamental grasses, agapanthus, and bougainvillea. Avoid plants with heavy fruit or seed drop within 5 feet of the water.
Should I use mulch or gravel near a pool?
Gravel is the better choice. Mulch directly against pool edges causes moisture problems and increases debris in the water, while a gravel border improves drainage and requires less frequent replacement.
How do I prevent drainage problems around my pool?
Grade all hardscaping at a minimum 1 percent slope away from the pool, and install landscape fabric under gravel borders to reduce erosion. If pooling persists after rain, a French drain along the low side of the yard solves the problem.
When should I add lighting to my pool area?
Install electrical conduit for lighting during the hardscaping phase, before any planting. Retrofitting lighting after plantings are established is significantly more disruptive and expensive.
