
TL;DR:
- Preparing a yard for pool installation involves multiple critical steps, including permits, soil grading, drainage, and professional excavation to avoid costly delays or damage. Proper site assessment, early utility locates, and integrated planning ensure a stable base and effective drainage, especially in Central Florida’s subtropical climate. Investing in thorough groundwork and hiring licensed professionals for structural work help guarantee a long-lasting, trouble-free pool.
Most Central Florida homeowners spend months picking the perfect pool design, then discover two weeks before the dig that their yard isn’t ready. Preparing your yard for pool installation isn’t just about clearing a few shrubs. It’s a multi-step process involving soil grading, drainage engineering, utility marking, and permit approvals — and skipping any one of those steps can cost you thousands in delays or structural damage down the road. This guide walks you through every phase, from your first site assessment to the final grade check, with specifics that apply to Florida’s subtropical climate and local code requirements.
Table of Contents
- Key takeaways
- Preparing your yard for pool installation: site assessment and permits
- Landscaping and soil preparation for a stable pool base
- Equipment and tools for site preparation
- Step-by-step site preparation process
- Troubleshooting common site preparation problems
- What I’ve learned from decades of Florida pool installations
- Ready to get your Central Florida yard pool-ready?
- FAQ
Key takeaways
| Point | Details |
|---|---|
| Start with permits | Pull all required permits before clearing a single foot of sod to avoid fines and stop-work orders. |
| Grade your yard correctly | A minimum 1% slope away from the pool prevents water damage and contamination. |
| Plan drainage early | French drains and catch basins installed during prep cost far less than retrofitting them post-installation. |
| Time your final leveling | Complete final grading just before pool delivery to prevent rain erosion from undoing your work. |
| Don’t DIY structural work | Excavation, plumbing, and drainage should be professionally handled to avoid costly, hard-to-fix mistakes. |
Preparing your yard for pool installation: site assessment and permits
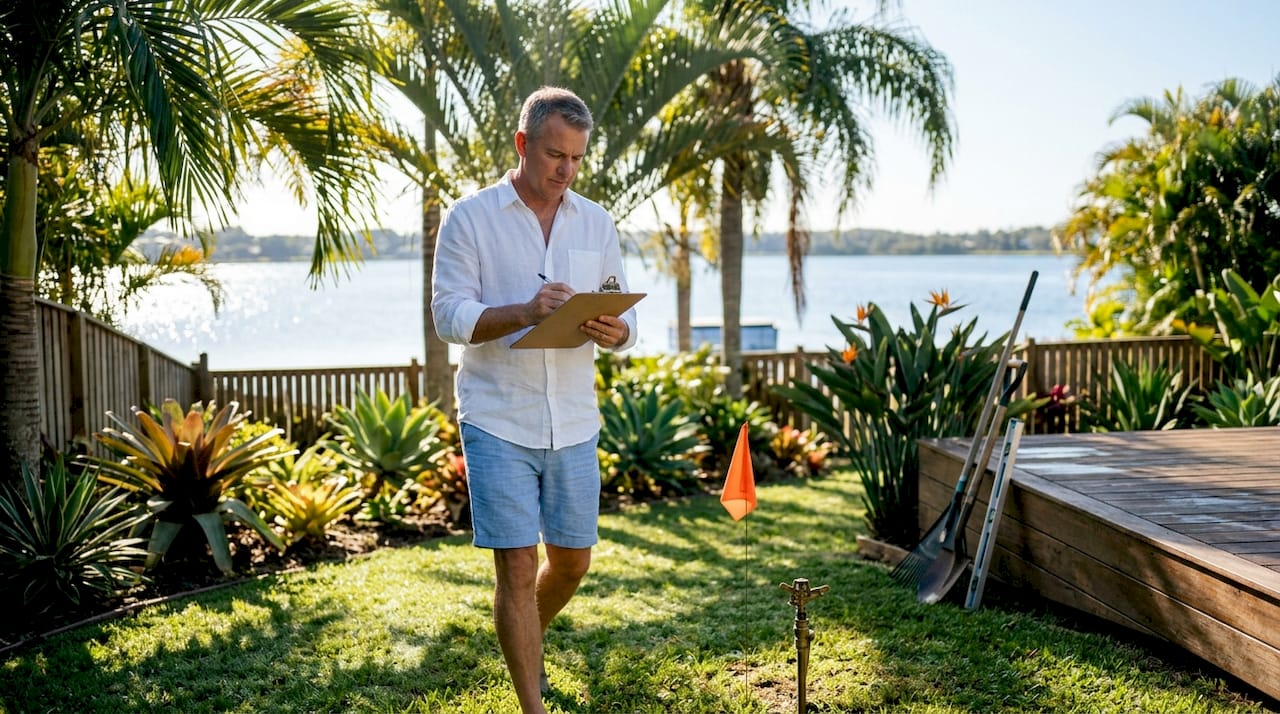
Before any equipment touches your lawn, you need a clear picture of what you’re working with. Walk the entire footprint of your planned pool and note any slopes, low spots where water collects after rain, visible tree roots, or areas where the ground feels soft underfoot. Soft soil in Central Florida often signals a high water table or saturated sand, both of which affect excavation planning.
Get a utility locate done before you do anything else. Florida law requires you to call 811 at least two business days before digging. Buried electrical lines, irrigation pipes, and cable conduit are common surprises in established yards, and hitting one isn’t just expensive. It’s dangerous.
Understanding local permits
Pool site permits exist to confirm that utilities are safely managed and that your project complies with county and municipal codes. In Orange, Osceola, Seminole, and surrounding Central Florida counties, you’ll typically need a building permit, an electrical permit, and sometimes a separate plumbing permit. Each county has its own application process, so contact your local building department early.
Permit delays are one of the top reasons pool projects run behind schedule. Submit your application the moment your design is finalized. Some counties allow online submission, which speeds things up considerably.
Here’s a pre-excavation checklist to get your site legally ready:
- Confirm property setbacks from fence lines, easements, and neighboring structures
- Verify HOA restrictions if applicable
- Submit building and electrical permits with your pool design drawings
- Schedule a utility locate through 811
- Identify and mark any septic systems or drain fields on the property
- Document existing vegetation to be removed for the permit file
Pro Tip: Ask your contractor for an itemized bid that separates excavation, drainage, and finishing costs. Contractor quotes often exclude risk items like unexpected rock or groundwater, which become costly change orders if not defined up front.
Landscaping and soil preparation for a stable pool base
This is where landscaping for pool setup goes from aesthetic to structural. The ground beneath your pool carries thousands of pounds of water, shell, or fiberglass, and if that ground isn’t properly prepared, the pool will shift, crack, or develop persistent drainage problems.
Getting the grade right
Yard grading is the single most overlooked step in pool installation site preparation. The pool deck surface must slope away from the pool at a minimum 1% grade, which equals roughly 1/8 inch per foot. This keeps rainwater and splashout from washing back toward the pool structure or pooling against the shell. In Florida, where afternoon thunderstorms dump inches of rain in under an hour, getting this grade wrong turns a minor shower into a recurring drainage problem.
For inground pools, the surrounding soil should be excavated about 2 to 3 feet beyond the pool walls on all sides. This gives the installation crew room to work and allows proper backfill compaction once the shell is set.
Yard drainage solutions that actually work
French drains and catch basins are the two workhorses of pool drainage. French drains handle subsurface water, collecting it in a perforated pipe surrounded by gravel and routing it away from the pool zone. Catch basins sit at the surface and capture runoff before it saturates the soil around your pool’s foundation.
Most homeowners underestimate drainage needs until the first heavy rain reveals a soggy yard. In Central Florida’s subtropical climate, drainage engineering needs to account for the volume of seasonal storms, not just a light drizzle.
Here’s how the most common drainage options compare:
| Drainage type | Best use case | Cost range | DIY-friendly? |
|---|---|---|---|
| French drain | Subsurface water management | $500–$2,000 | Partially |
| Catch basin | Surface runoff collection | $300–$800 | Yes, with care |
| Channel drain | Deck and hardscape runoff | $400–$1,200 | Yes |
| Dry creek bed | Decorative + functional runoff | $600–$2,500 | Yes |
Pro Tip: Drainage features installed during the initial site prep phase are significantly more effective and less expensive than retrofitting them after the pool is in the ground. Do it now.
Soil compaction and base materials
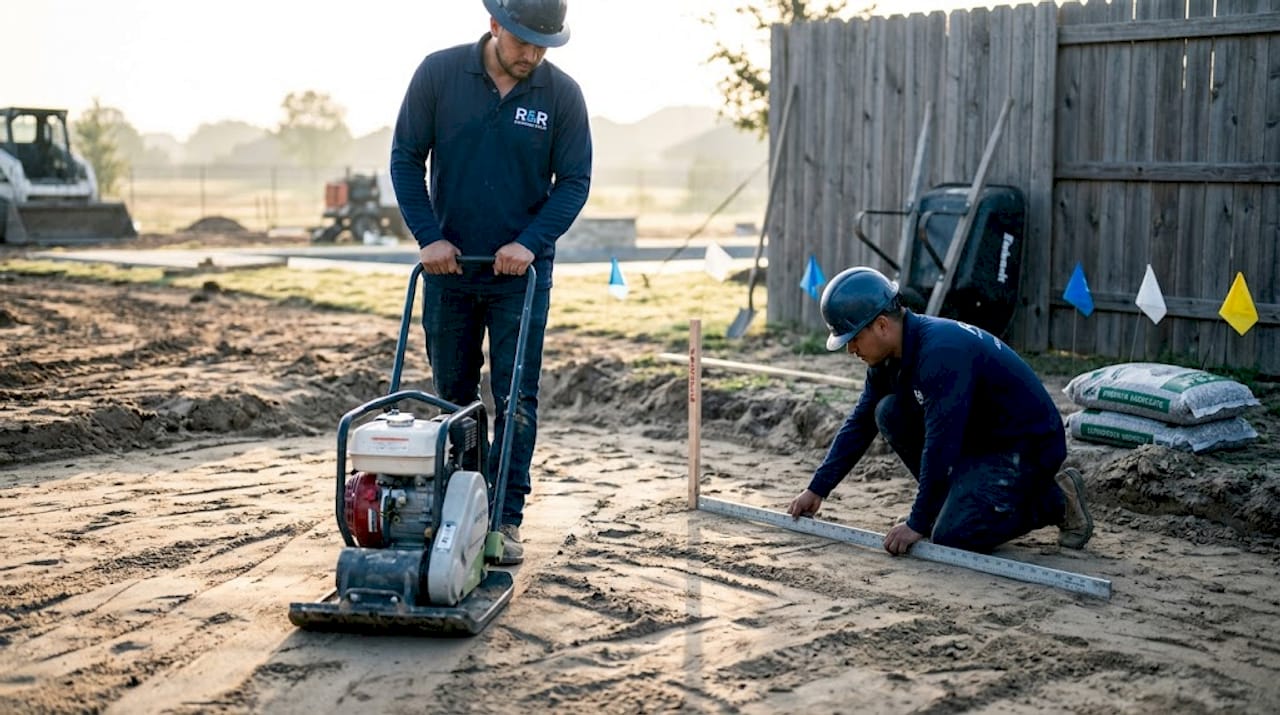
After clearing and grading, compact the soil thoroughly. Loose soil settles over time, and settlement under a concrete or fiberglass shell causes cracking. For concrete pools, the excavated base is typically stabilized with a layer of compacted gravel before the rebar cage and shotcrete go in. For fiberglass pools, a bed of clean sand or crushed granite provides a firm, level seat for the shell.
Above-ground pools have even less tolerance for error. The ground level must be within one inch of flat across the entire pool footprint. Any tilt puts uneven structural pressure on the walls, which can cause the pool to collapse over time.
Equipment and tools for site preparation
Understanding what equipment goes into land clearing for pool installation helps you have smarter conversations with your contractor and catch any corners being cut.
For professional crews, the standard toolkit includes:
- Laser level: Confirms grade accuracy across the full site before and after excavation
- Sod cutter: Removes turf cleanly without disturbing the soil structure below
- Plate compactor: Packs down backfill and base layers to prevent settling
- Mini excavator: The workhorse for digging inground pool footprints in residential yards
- Bobcat or skid steer: Moves spoil (excavated dirt) off the site efficiently
For homeowners doing partial DIY prep, a rented sod cutter and plate compactor handle clearing and compaction work well. DIY can cover clearing and surface prep, but excavation, plumbing, and drainage require licensed professionals. The liability risk alone makes those non-negotiable.
Safety gear during site prep isn’t optional either. Steel-toed boots, safety glasses, work gloves, and high-visibility vests protect against the very real hazards of active excavation sites. If children or pets share the property, fence off the work zone entirely. An open excavation pit is one of the most dangerous features a residential yard can have.
Step-by-step site preparation process
Good pool installation site preparation follows a sequence. Skipping steps or doing them out of order creates compounding problems that are expensive to reverse.
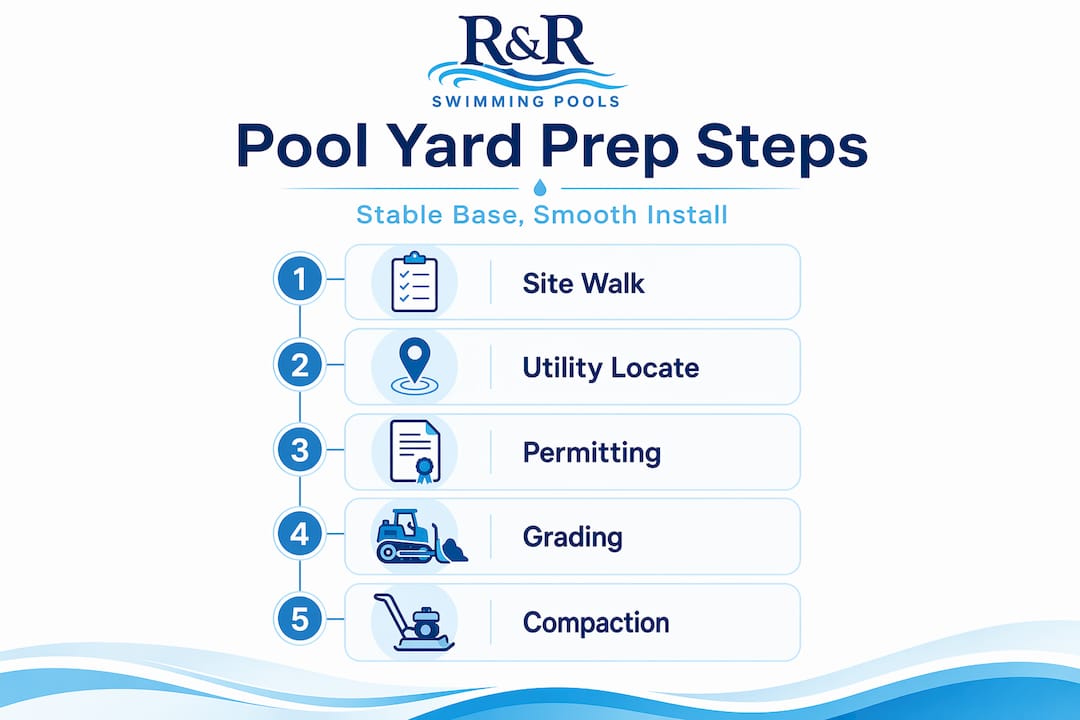
- Mark the pool perimeter and setbacks. Use spray paint or stakes to outline the exact footprint plus a two-foot buffer on all sides. Confirm this matches your approved permit drawings.
- Remove sod and surface vegetation. Cut and strip turf from the entire pool zone and deck area. Don’t just bury it; buried organic matter decomposes and causes ground settlement.
- Clear trees, stumps, and roots. Roots left in the ground continue to grow and can exert pressure on pool walls. Full stump grinding is worth the extra cost.
- Excavate to depth. Your contractor will dig to the engineered depth based on your pool design. Inground pools in Central Florida typically require excavation between 5 and 9 feet depending on the design.
- Install drainage infrastructure. French drains, catch basins, and any underground drainage lines go in at this stage, before backfill makes access impossible.
- Compact and grade the base. The excavated base is compacted and graded to spec. Check grade accuracy with a laser level, not a bubble level.
- Final leveling. Complete final leveling just before your pool delivery or shell installation. Prepping too early leaves graded soil exposed to Florida rain, which can erode and undo hours of work.
Pro Tip: Coordinate prep timing directly with your installer. A good contractor will give you a prep-completion window tied to their schedule so your site doesn’t sit exposed for weeks.
Troubleshooting common site preparation problems
Even well-planned projects hit snags. Here’s what to watch for and how to respond without derailing your timeline.
- Standing water after rain: This signals inadequate slope or a blocked drainage path. Have your grading re-checked before proceeding to excavation.
- Soft or spongy soil: May indicate a high water table or organics buried below the surface. A soils engineer can test and recommend stabilization treatments.
- Permit delays: If your permit application is stuck, call the building department directly and ask for the specific reason. Missing documents or plan revisions are the most common causes, and they’re fixable. A good contractor handles this regularly.
- Unexpected rock or clay: Florida’s geology varies widely. Rock layers in Ocala-area soils or dense clay in older fill areas can significantly add to excavation costs. Ask your contractor how they handle this in their standard contract.
- Post-prep rain erosion: If a storm hits after grading, assess the damage before the installation crew arrives. Minor erosion on a compacted base is often correctable with re-grading.
For complex drainage failures or significant soil instability, don’t guess. Hire a licensed civil engineer or geotechnical consultant for a site assessment. The fee is almost always less than the cost of fixing a drainage problem after the pool is in the ground.
Cutting corners on grading, drainage, or permitting almost always results in delays and a higher total project cost. The savings from skipping a step are almost never real.
What I’ve learned from decades of Florida pool installations
I’ve worked on pool projects across Central Florida since 1985, and the pattern I see most often is homeowners treating site preparation as a box to check rather than a foundation to build. The yards that create problems aren’t usually the dramatically sloped ones or the ones with obvious drainage issues. They’re the yards that look fine on the surface but haven’t had a real drainage assessment.
In my experience, the biggest misconception homeowners carry into a pool project is that grading only matters for the deck. The soil beneath the shell matters just as much, especially in Florida where the water table fluctuates seasonally. A pool installed on improperly compacted soil in a high-water-table area can literally float. It’s called hydrostatic uplift, and I’ve seen it happen to pools that were installed by contractors who didn’t account for it.
The other mistake I see regularly is treating the pool, the landscaping, and the drainage as three separate projects. Integrated planning where pool placement, planting zones, lighting, and drainage are designed together from the start avoids expensive rework and produces a finished result that actually looks like it belongs in your yard.
My honest advice: hire professionals for the structural work, ask every contractor for an itemized scope, and invest in your drainage infrastructure before your pool goes in the ground. Those three decisions will determine whether your pool is a decade of enjoyment or a decade of repairs.
— Randrswimmingpools
Ready to get your Central Florida yard pool-ready?
R and R Swimming Pools has been installing custom inground pools across Central Florida since 1985. We know the soil conditions, the county permitting offices, and the drainage challenges that come with building in this region. That experience means your site preparation is handled correctly the first time, without costly surprises mid-project.
Whether you’re comparing concrete vs. fiberglass options or ready to start your inground pool installation process, our team offers free consultations and detailed project quotes that break down every phase. We also work with you on landscaping integration so your pool area functions well and looks great from day one. If you’re still in the planning stage, our custom pool guide for Central Florida homes covers everything you need to know before you commit to a design. Contact Randrswimmingpools today to schedule your site assessment.
FAQ
How early should I start preparing my yard for pool installation?
Start at least 8 to 12 weeks before your planned installation date. This gives you enough time to submit permit applications, complete utility locates, and clear the site without rushing any step.
Do I need a permit to prepare my yard for a pool in Central Florida?
Yes. Most Central Florida counties require a building permit before any excavation or structural work begins. Permits confirm that utilities are safely managed and the project meets local codes.
What drainage system works best for a Central Florida pool yard?
A combination of French drains for subsurface water and catch basins for surface runoff works best in Florida’s subtropical climate. These should be installed during the initial site prep phase, not added afterward.
How much does yard preparation typically add to pool installation costs?
Landscaping and excavation typically add $1,200 to $6,300 on top of the base pool cost, depending on site conditions, the amount of vegetation removal needed, and what drainage infrastructure is required.
Can I do my own yard preparation before the pool installer arrives?
You can handle sod removal, basic clearing, and debris cleanup yourself. However, excavation, drainage installation, and final grading should be professionally done to meet code requirements and avoid structural problems.
